9 mins read
How to setup Ansible Lint extension in VSCode on Windows using WSL
A step-by-step guide to setup ansible-lint correctly. Fixing errors like 'Ansible-lint is not available. Kindly check the path or disable validation using ansible-lint' in VSCode.
Intro
Welcome! Following this guide to get to know how to setup Ansible Lint extension in Visual Studio Code on Windows with WSL. Here you will find a step-by-step guide to setup ansible-lint correctly. Fixing errors like 'Ansible-lint is not available. Kindly check the path or disable validation using ansible-lint' in VSCode.
To follow this guide, make sure you have WSL (Windows Subsystem for Linux) installed and configured on your Windows machine, with Ansible and ansible-lint properly set up in the WSL environment. We will install the official Ansible extension for VS Code and open your Ansible workspace in VS Code on WSL. Then we will verify that ansible-lint is functioning by creating a simple pipeline. Let’s get started!
Prerequisites
Since you want to set up code checking in VSCode using ansible lint, we will assume that you have already installed Visual Studio Code and Ansible in your WSL environment. If not, here is the link to the official documentation for installing Ansible and link to download the latest version of VSCode.
Ansible Lint is installed via pip. If you don't have pip, install it according to the instructions in the official documentation.
By the end of the installation, you should have a WSL machine set up with Ansible installed.
Don't forget to start WSL before beginning the installation using this guide from PowerShell with the command wsl.
Step 1: Install Ansible Lint in WSL
The ansible-lint command is part of the ansible-tools package. It can be installed either independently or along with all Ansible Tools packages (the latter is preferable). To install Ansible Lint in WSL, run the following pip command:
pip3 install ansible-dev-tools
# or pip3 install ansible-lint
Step 2: Install Ansible Lint extension in VSCode
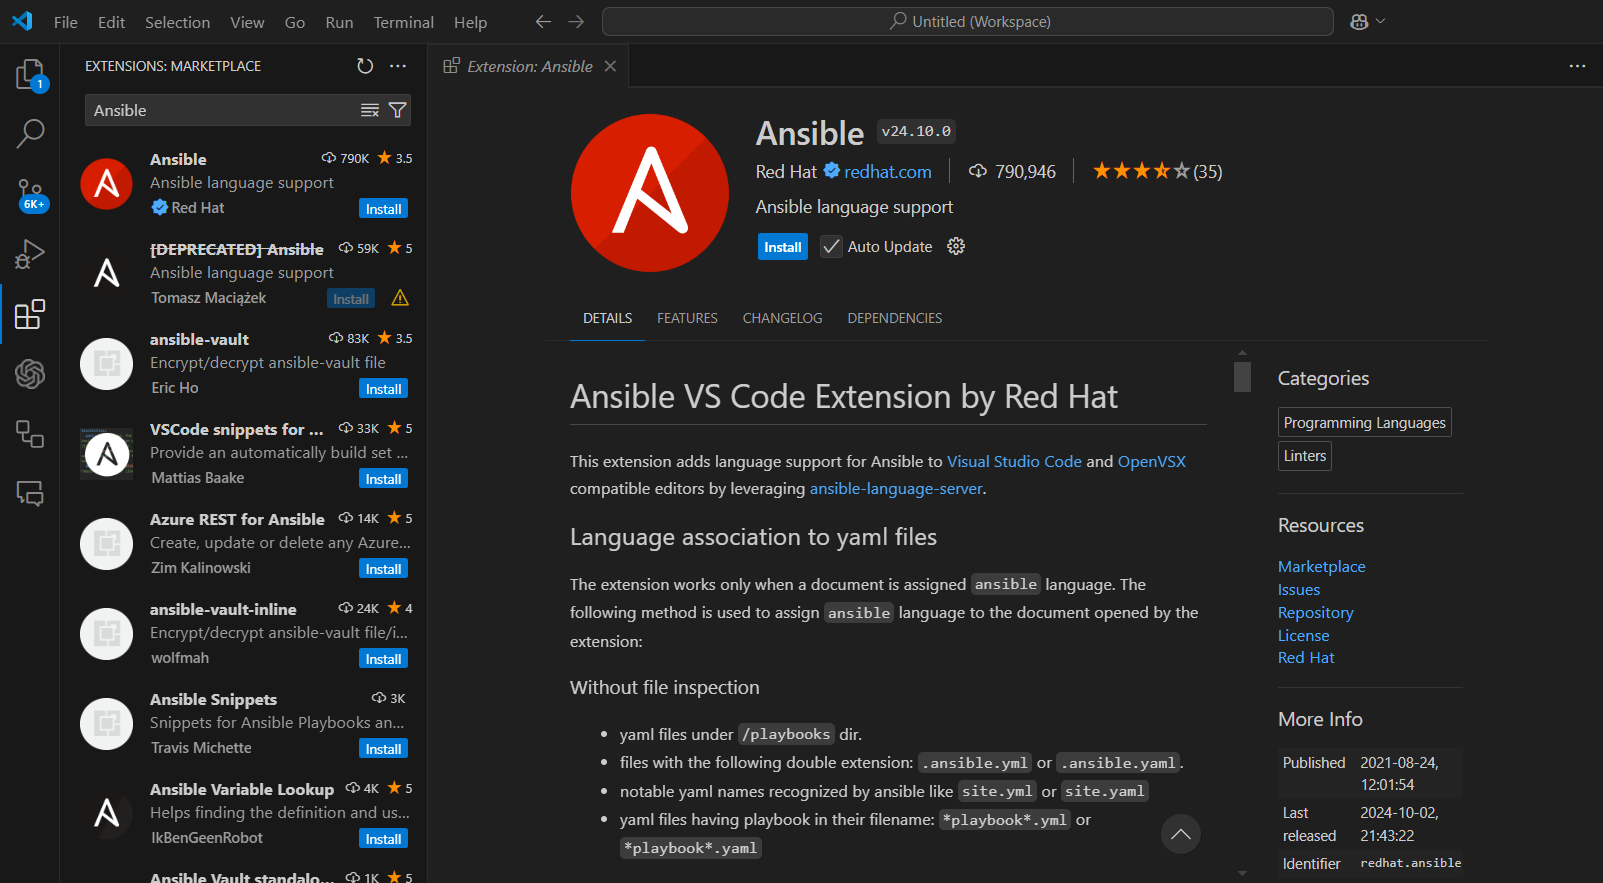
Start VSCode and open Extension panel with Ctrl + Shift + X or by clicking on the Extensions icon in the Activity Bar on the side of the VSCode window.
Search for "Ansible" in the Extensions panel and install the official Ansible extension by Microsoft. If you can't find it, you can use this link to install it.
Step 3: Install Remote extension in VSCode
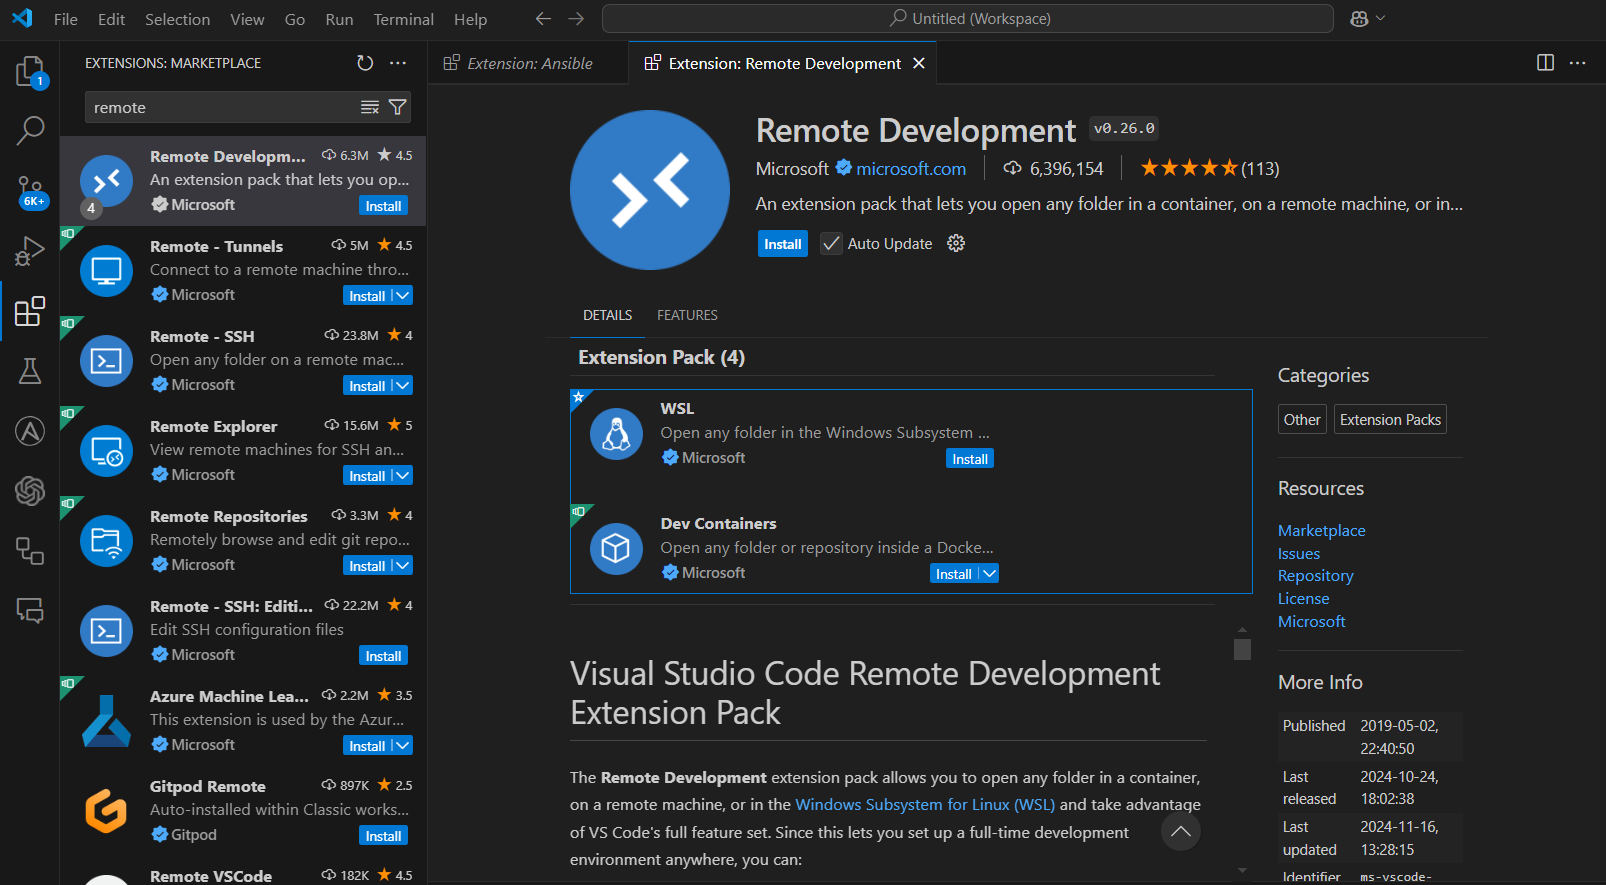
Since Ansible Lint was installed in WSL, we need to install the Remote extension in VSCode. This will allow us to work with files in WSL from VSCode. The extension can be found in the VSCode marketplace by the name "Remote". This is an official extension supported by Microsoft. This extension pack consists of the WSL extension, in addition to the Remote - SSH, and Dev Containers extensions, enabling you to open any folder in a container, on a remote machine, or in WSL. If you can't find it, use this link to install it.
Step 4: Open your ansible workspace in VSCode
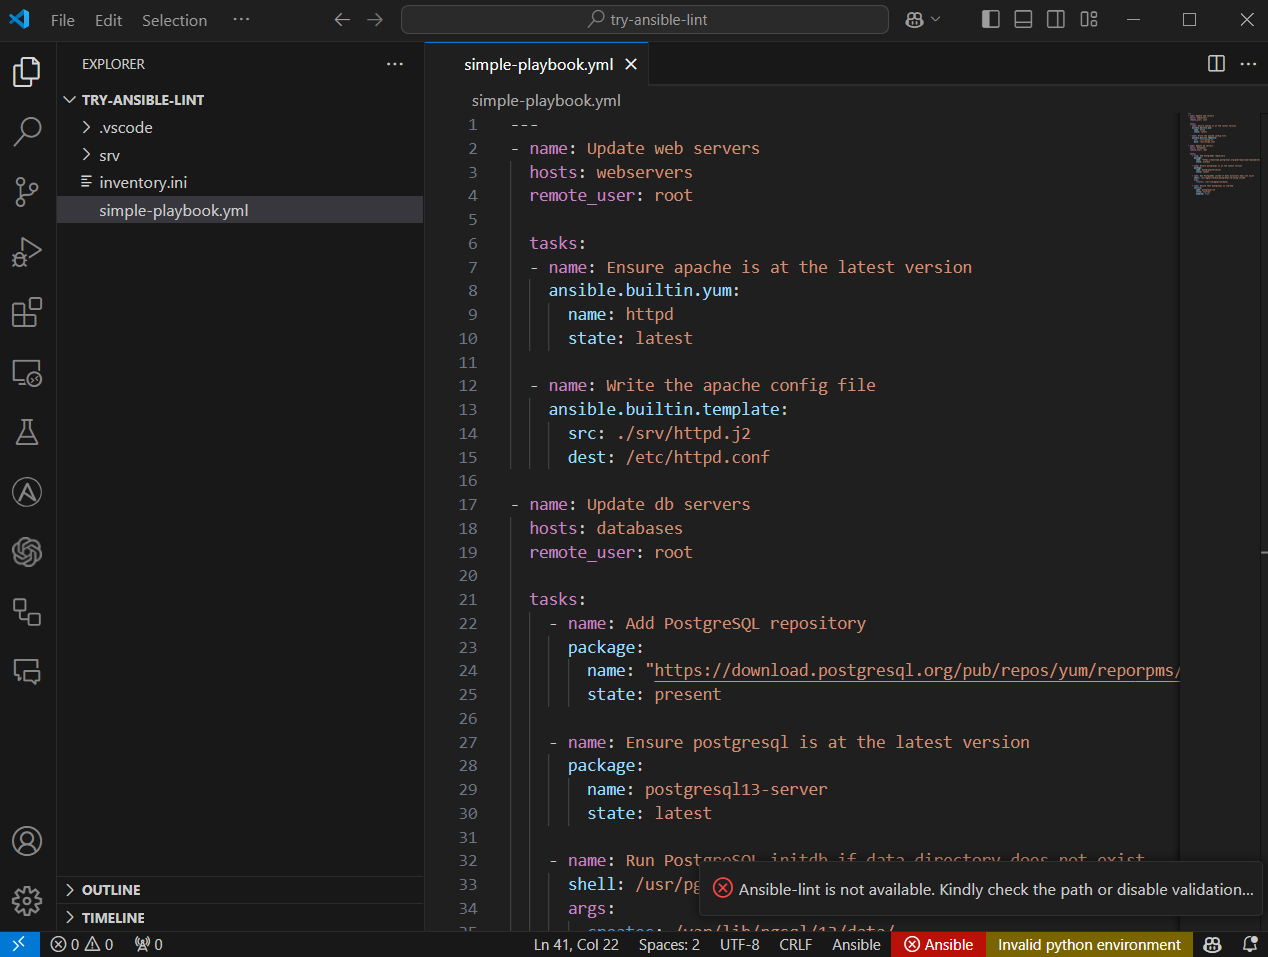
For now, if you try to open your Ansible playbooks in VSCode, you will get syntax highlights but also a linting error since VSCode is trying to find Ansible on your Windows host and cannot do it.
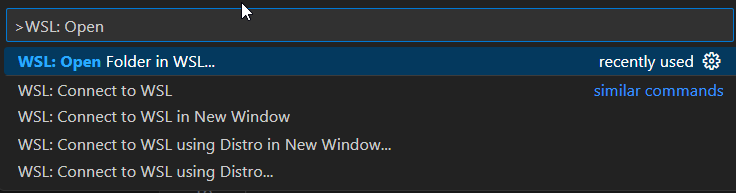
To fix this, you should open your project with VSCode on WSL. To do this, open the command panel with Ctrl+Shift+P, search for >WSL: Open Folder in WSL, and pick your project folder.
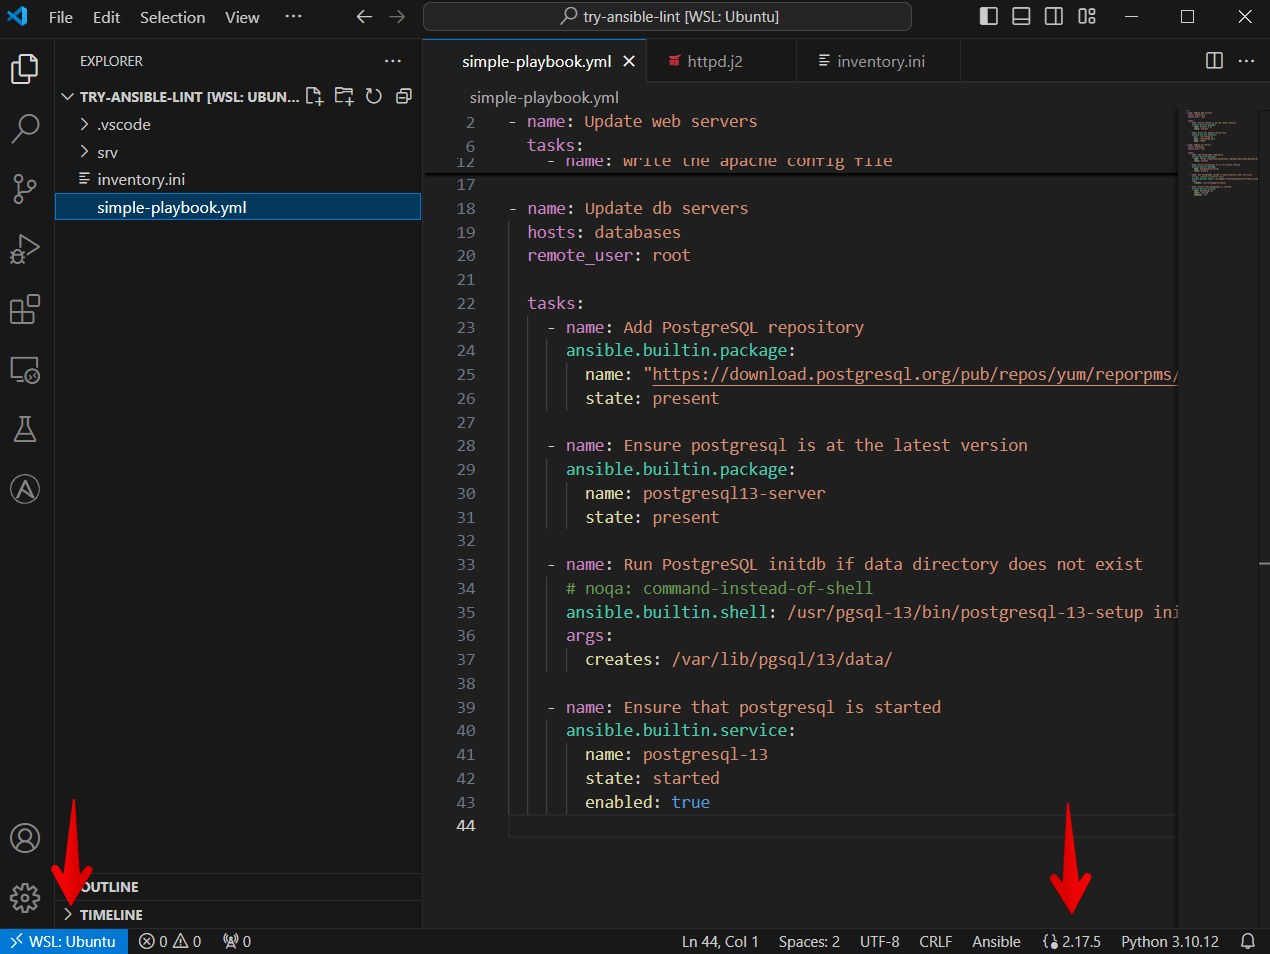
Now your project is opened in WSL and linting should run correctly. If your WSL has multiple Python installations, the Ansible extension will let you choose the Python interpreter manually.
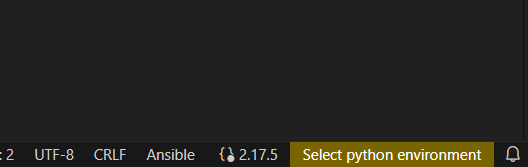
You should now see that your project is opened in WSL, Ansible version detected, and ansible-lint is working correctly.
Step 5: Check working ansible-lint in VSCode
Let's create a simple playbook to check if ansible-lint is working in VSCode.
Copy the following code to your Ansible playbook file named simple-playbook.yml:
---
- name: Update web servers
  hosts: webservers
  remote_user: root

  tasks:
    - name: Ensure apache is at the latest version
      ansible.builtin.yum:
        name: httpd
        state: latest

    - name: Write the apache config file
      ansible.builtin.template:
        src: ./srv/httpd.j2
        dest: /etc/httpd.conf

- name: Update db servers
  hosts: databases
  remote_user: root

  tasks:
    - name: Add PostgreSQL repository
      package:
        name: "https://download.postgresql.org/pub/repos/yum/reporpms/EL-9-x86_64/pgdg-redhat-repo-latest.noarch.rpm"
        state: present

    - name: Ensure postgresql is at the latest version
      package:
        name: postgresql13-server
        state: latest

    - name: Run PostgreSQL initdb if data directory does not exist
      shell: /usr/pgsql-13/bin/postgresql-13-setup initdb
      args:
        creates: /var/lib/pgsql/13/data/

    - name: Ensure that postgresql is started
      service:
        name: postgresql-13
        state: started
        enabled: true
You will see that there are some errors highlighted in your playbook with the Ansible extension!
If you run ansible-lint simple-playbook.yml in your WSL terminal, you will see the same errors.
WARNING  Listing 11 violation(s) that are fatal
fqcn[action-core]: Use FQCN for builtin module actions (ansible.builtin.yum).
initial-playbook.yml:7 Use `ansible.builtin.dnf` or `ansible.legacy.dnf` instead.

package-latest: Package installs should not use latest.
initial-playbook.yml:7 Task/Handler: Ensure apache is at the latest version

yaml[indentation]: Wrong indentation: expected at least 3
initial-playbook.yml:7

risky-file-permissions: File permissions unset or incorrect.
initial-playbook.yml:12 Task/Handler: Write the apache config file

...

Read documentation for instructions on how to ignore specific rule violations.

                       Rule Violation Summary
 count tag                           profile    rule associated tags
     1 command-instead-of-shell      basic      command-shell, idiom
     1 yaml[indentation]             basic      formatting, yaml
     1 yaml[new-line-at-end-of-file] basic      formatting, yaml
     2 package-latest                safety     idempotency
     1 risky-file-permissions        safety     unpredictability
     5 fqcn[action-core]             production formatting

Failed: 11 failure(s), 0 warning(s) on 1 files. Last profile that met the validation criteria was 'min'.
Let's try to fix them using hints from the Ansible VS Code extension! After fixing the highlighted errors, you will get the following valid Ansible playbook:
---
- name: Update web servers
  hosts: webservers
  remote_user: root

  tasks:
    - name: Ensure apache is at the latest version
      ansible.builtin.package:
        name: httpd-2.4.62
        state: present

    - name: Write the apache config file
      ansible.builtin.template:
        src: ./srv/httpd.j2
        dest: /etc/httpd.conf
        mode: "0644"

- name: Update db servers
  hosts: databases
  remote_user: root

  tasks:
    - name: Add PostgreSQL repository
      ansible.builtin.package:
        name: "https://download.postgresql.org/pub/repos/yum/reporpms/EL-9-x86_64/pgdg-redhat-repo-latest.noarch.rpm"
        state: present

    - name: Ensure postgresql is at the latest version
      ansible.builtin.package:
        name: postgresql13-server
        state: present

    - name: Run PostgreSQL initdb if data directory does not exist
      # noqa: command-instead-of-shell
      ansible.builtin.shell: /usr/pgsql-13/bin/postgresql-13-setup initdb
      args:
        creates: /var/lib/pgsql/13/data/

    - name: Ensure that postgresql is started
      ansible.builtin.service:
        name: postgresql-13
        state: started
        enabled: true
One of the linting rules was explicitly disabled (command-instead-of-shell) since we are sure to use the shell command here. Additionally, you can set up linting rules for your Ansible files. To do this, you need to create a .ansible-lint file in the root of your Ansible project.
For example, to prevent highlighting errors for using built-in modules without the prefix ansible.builtin, you could create the following .ansible-lint file:
---
skip_list:
  - fqcn-builtins
PROFIT!
If you find it usefull please follow me on Github to be notified about new lessons and content.
Useful links
- Install Ansible
- Install Ansible Lint
- VSCode Ansible extension
- VSCode Remote extension
- How to open a WSL project in VSCode
- Install WSL
- Install VSCode
- Install pip